


 I came across this post on Design*Sponge (another fabulous blog) that inspired me to make a stencil. First I photocopied my pillow cover, cut out the design, and then played around with it until I had a shape I liked.
  Then I traced the design onto Kraft paper (four times, like in the Design*Sponge tutorial). This picture is a little difficult to see, but it's my finished tracing.
 Then I took a paint brush and filled in the lines with black acrylic paint. This part took the longest amount of time, about two hours for me.
 Once I was done painting I erased any stray pencil lines and put it in the frame. I used double sided tape on the mat so the art would be pressed against the glass. Here is the finished product! I couldn't wait to get it up on the wall after framing it, so I apologize for the glare from the glass doors. I like how the paint made the Kraft paper ripple and look aged.
 Just for fun, here is the new art in our master bedroom. You can see that it is part of a larger gallery wall with some family photos.
 The best part about this project was that it cost me absolutely nothing. The frame was a gift from long ago, the Kraft paper was from my Christmas stash, and the black acrylic paint was left over from painting silhouettes of our baby for the grandparents. I'm so pleased with the final product.




 To mount the frame on my bookcase I used Command picture hanging strips. I was concerned about how to hang the art since my infant will soon be a toddler and I wanted it to last (and not fall on her head). I've heard great reviews of this product, so I gave it a go and I cannot believe how sturdy the frame is with these strips. They are like a stronger form of velcro, and they are suppose to remove cleanly from both surfaces. Who knows how well they will work on IKEA veneer, but it was worth a try. Here's one more shot for perspective:
 I love how it turned out. It has been three days now and the frame and strips have not budged a bit.
 One of the projects I took on for our nursery was a mobile to hang over the crib. By the time I got to this project the budget for the room was used up, so I wanted to make something on the cheap. After searching the internet for inspiration, I decided to combine several ideas and make something out of paper doilies. Here is my how-to:
 1. Gather your supplies.
 5. Fold each doily in half, making sure to match the pattern around the edge. Glue two halves together with rubber cement.
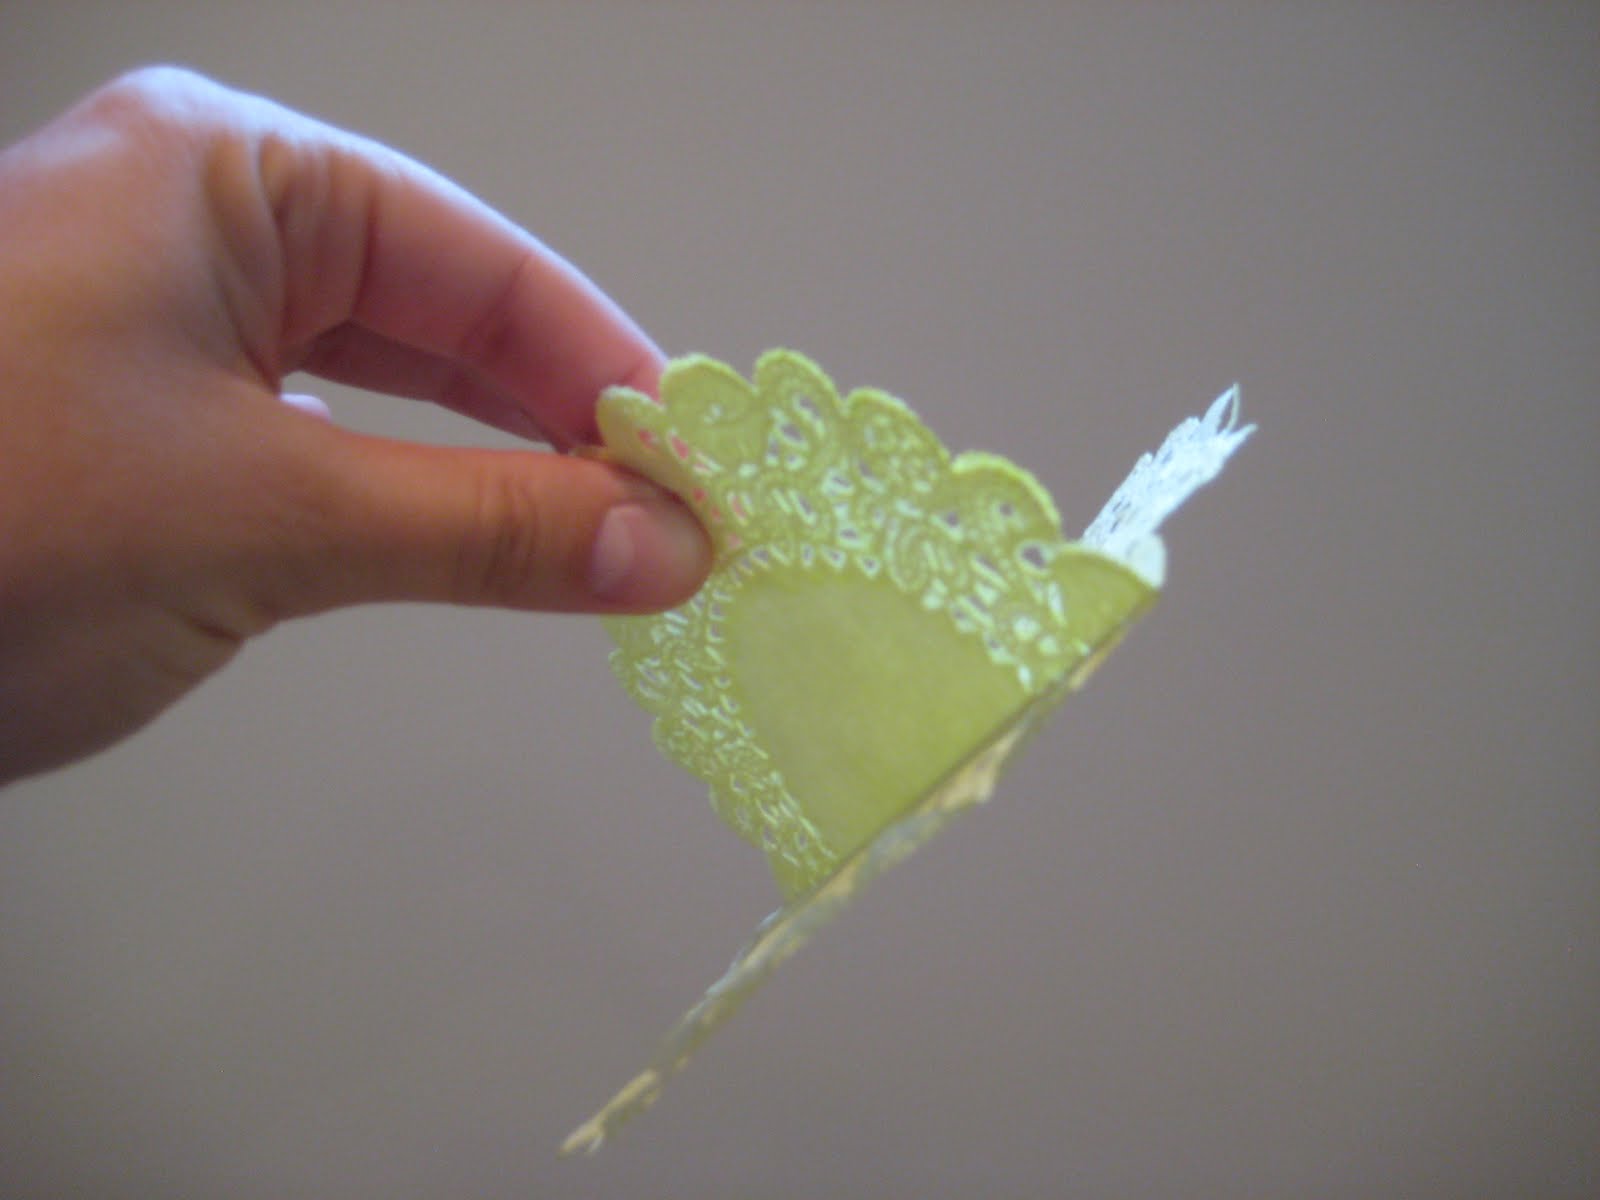 6. Lay out your glued doilies and cut a thin piece of ribbon to hang each from the embroidery hoop. Stagger the lengths or your doilies will bump into each other.
 7. Glue on the other set of folded doilies to its matching color, making sure to glue the thin piece of ribbon in the middle.
 8. Wrap three pieces of wide ribbon (evenly spaced) around your embroidery hoop. Secure using craft glue. Tie in a knot to hang your mobile from the ceiling.
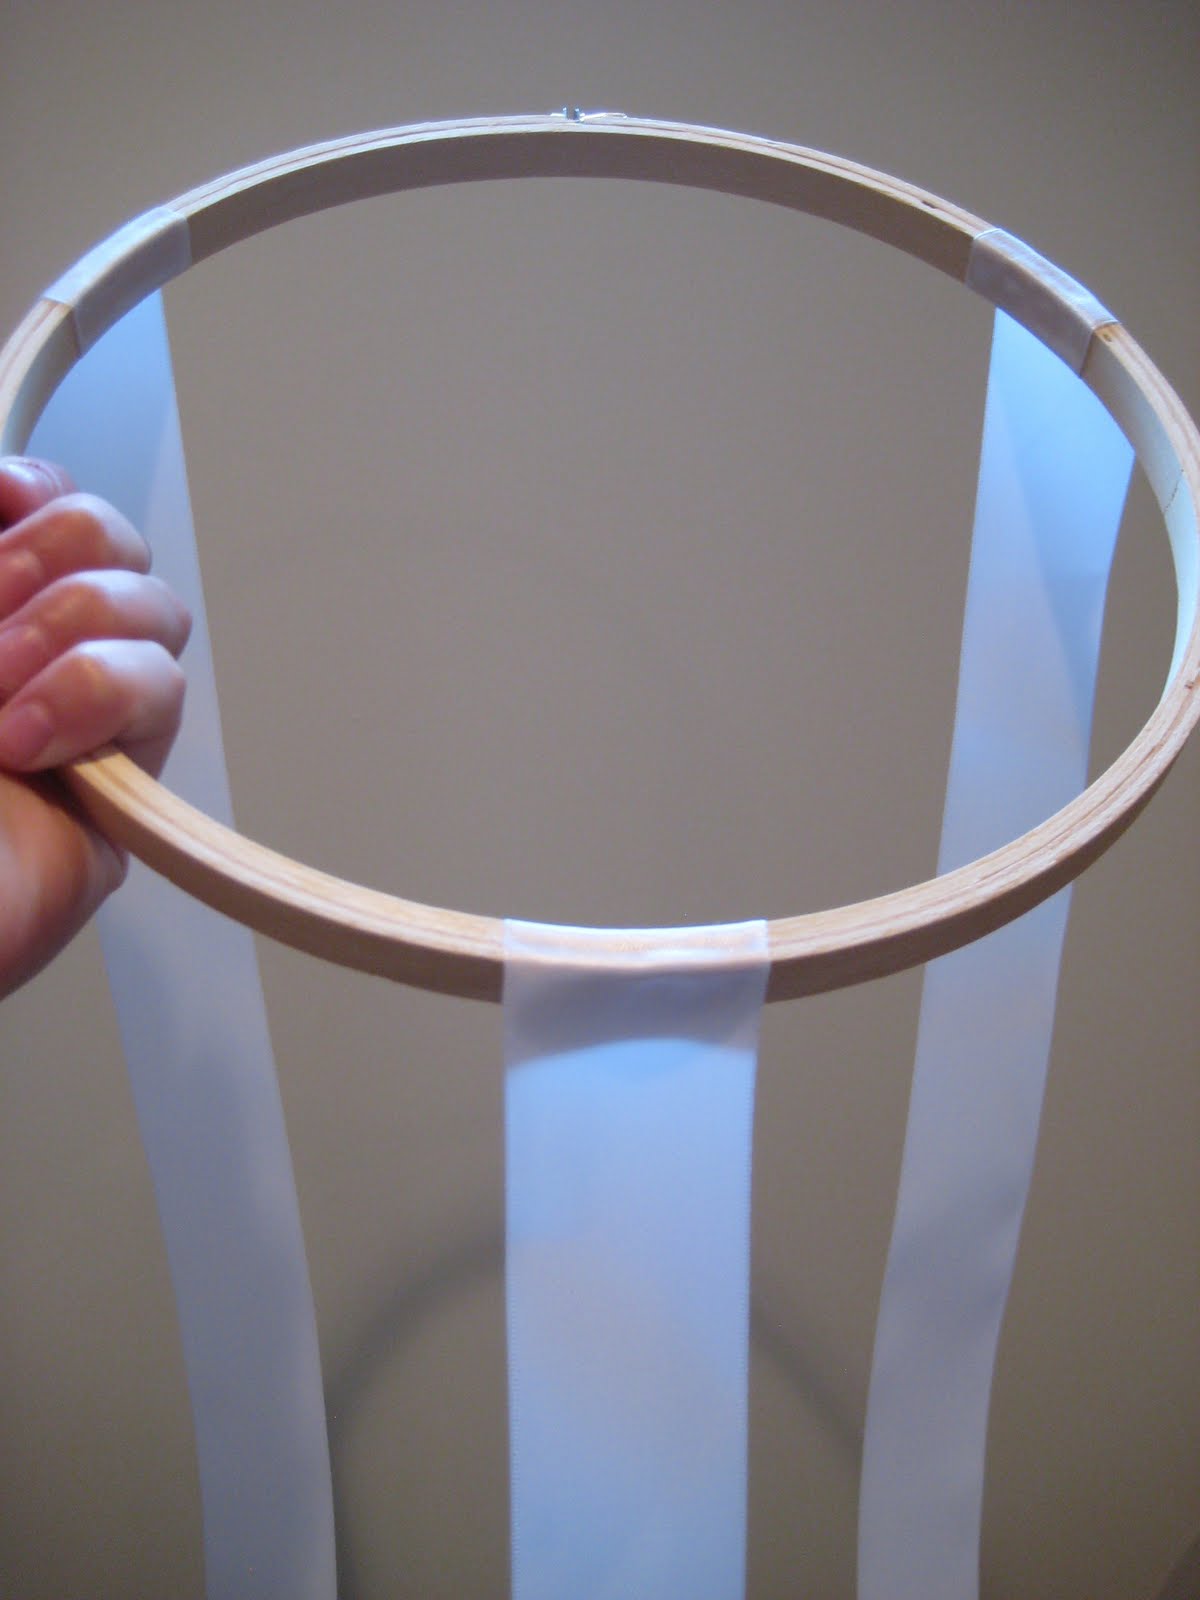 9. Secure each doily ball to the hoop in the same fashion. Ta-da! Your mobile is complete.
 I found this great tutorial at Prudent Baby and made one of my own for the nursery. Total cost for supplies was $6, and that includes a 12" tall letter. Growing up in Seattle, where we had earthquakes almost annually, I'm totally nervous about hanging anything over the crib. This soft letter was all I could handle. :)

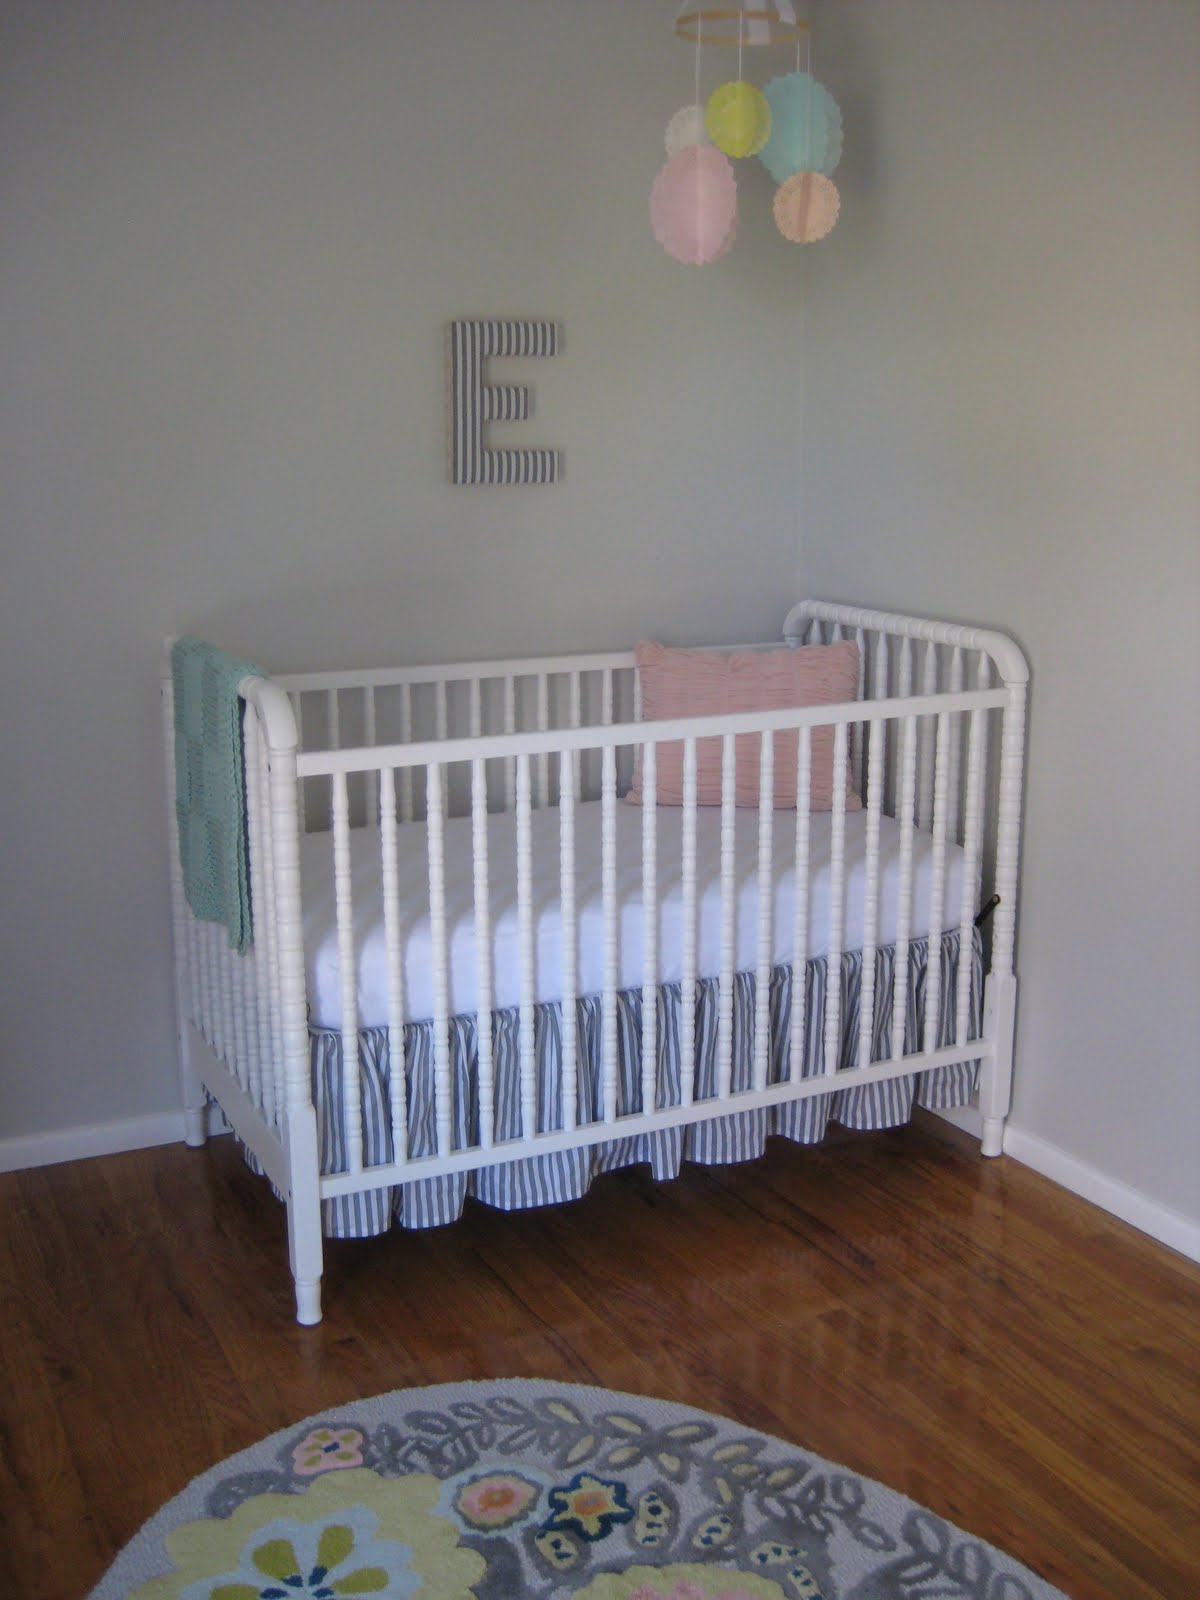
 The nursery was also featured on Apartment Therapy's Ohdeedoh site. I shared a little bit of information on the room, as well as sources for many of the products. You can view the room here.
 I finally found a gray with the perfect undertones, but when I painted it on the wall it was too dark. At the home improvement store I showed my swatch and asked for a lighter version, and learned that the lighter colors on the same card are not necessarily just less saturated versions of each other. For example, the lighter shade of gray on my card used much more blue. So they simply whipped up a sample with only 50% of the formula (i.e. more white overall) and it is perfect! Here is Behr's "Dolphin Fin" at full color and the 50% solution.
 When we decided to paint the basement a light gray (almost white) we went back to our tried and true "Dolphin Fin", this time having a solution of only 25% color mixed. It gives a subtle contrast to the white trim but keeps the space light and bright.
 Joi started her blog as a space to keep decor inspiration and update family and friends. She has some super creative ideas, and together with the help of her husband David they complete some pretty amazing transformations. She also does this great feature called "What's Good in Your 'Hood" where she scours Craigslist and finds awesome furniture and decor in your town.
 (joi's living room)
 (joi's master bedroom)
 (joi's kitchen)

