Showing posts with label DIY. Show all posts

Tuesday, August 24, 2010

Reader DIY project.

After posting a few of my do-it-yourself (DIY) projects the other day I received some great e-mails from readers with photos of their own projects. One of those readers, Ralna, recently purchased her first home. Striving to decorate on a budget, she reupholstered two club chairs purchased at a local auction for $15 each.

before:
after:
Impressive! Here's what she had to say:

I just stripped all the old pieces off one at a time and used them as a pattern on my new fabric. The most time consuming part of the whole project was taking out the hundreds of staples holding it together! Then when I was done cutting the new pieces, I slowly put it back together. Most of it was done with a staple gun. There was minimal sewing other than the two cushions and putting on the piping. I stopped by my local upholstery shop when I got to the backs and they gave me a short tutorial on using the tacking strips down the back seams of the chairs and sold me some for a few dollars - totally worth every penny! The fabric I chose is called "Cream Chenille" - a heavy upholstery fabric - costing me around $45 for each chair when all was said and done. It was definitely labor intensive but saved us a lot of money in the end and totally left me with a feeling of accomplishment!

I love that she created classic pieces for her home at such a low cost. You can head over to Ralna's blog to follow her progress and check out her latest projects.

Wednesday, August 11, 2010

Adventures in DIY Land.

Let me put this out there: do-it-yourself (DIY) projects are not for the faint of heart. Throughout the blog world you will find examples of people that have the courage, patience, and stamina to turn something awful into something awesome. This is not that kind of blog. However, the hubby and I have embarked on our fair share of projects in the past.

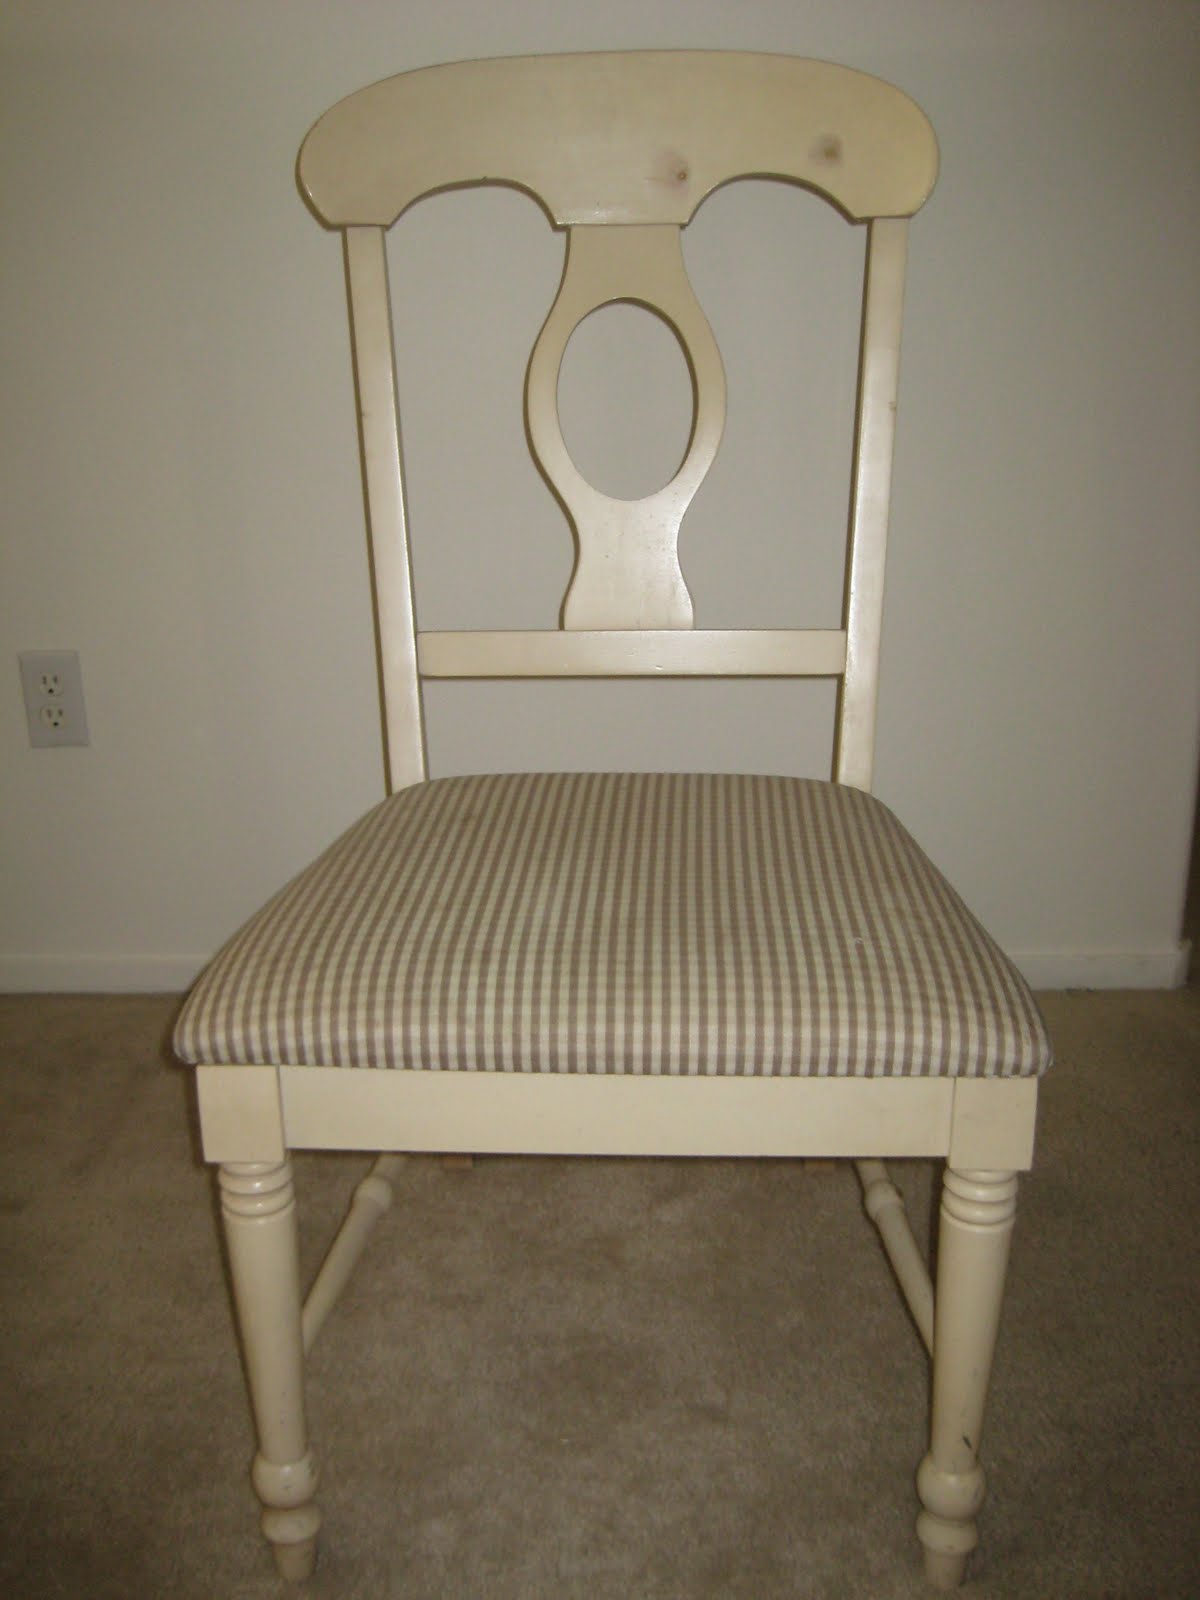
Pretty much everything in our first apartment was secondhand and painted some color or another. I know, I know, paint hardly counts, but I warned you that we were weak. We found the dining chairs on the side of the road, and the side table was a $5 thrift store find. The mirror, desk, and chair were thrifted and painted to match. The seat cushion was my first upholstery project.

Then we found this swiveling bad boy at a garage sale for $7. We sanded, stained, and sealed the base, then reupholstered the cushions.

This dining set was our most ambitious project. We started by sanding it down to stain it black and seal it. The turned legs made getting all of the original clear stain off impossible though, so we had to prime, paint, and stain instead. Then I recovered the seats with Sunbrella fabric.

The greatest lesson we have learned is to carefully weigh our time and satisfaction against the amount of money we'll save. Then if it's worth it - go for it!


*P.S. Have a DIY project that you're proud of? E-mail it my way (veryfinehouseblog@gmail.com) and I'll share it on Very Fine House.

Thursday, May 20, 2010

Don't try this at home.

In an ill-advised attempt to make our kitchen makeover easier, we tried this paint sprayer on our kitchen cabinets. We quickly learned that we were never going to get the smooth, even coat we wanted with this product. The reviews online were great, but no one had tried using it on a kitchen. I'm sure it does have its uses, but as far as this project goes, nothing beats a good ol' paint brush and roller.
Related Posts Plugin for WordPress, Blogger...